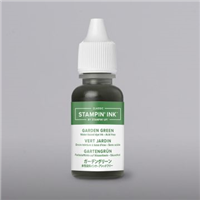
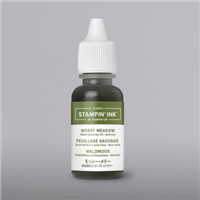
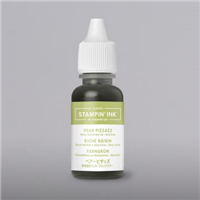
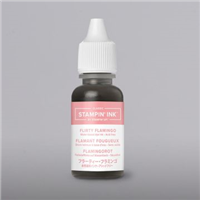
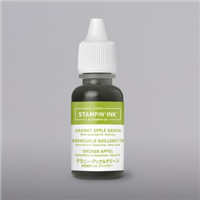
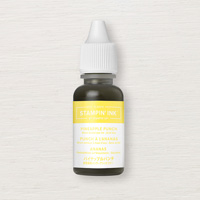
To do this technique you squirt a pile of shaving cream onto a paper or regular plate, foil pan, etc. You want something a bit larger than your piece of paper, that you can easily pick up to either throw away or rinse off. Spread out the shaving cream with a palette knife or popsicle/craft stick, then put drops of ink refills on the surface. Use your spreading tool and run it through the drops of ink either in swirls, or lines, dragging the ink to make interesting swirls. Be sure not to over-mix and just get a muddy mess.
Then lay cardstock (we used watercolour paper, but glossy paper works very well and regular cardstock will work, too) on top and press gently to get good contact all over. Pull the paper up and put it face down onto a second piece of paper, then pull them apart. I found that I got good results when I rotated one piece 180° and pressed them together again, before pulling apart to let sit while I repeated the process again. I stopped when I had 4 pieces of coloured paper, but I think one could do more if one wanted before it became too muddy or the shaving cream runs out of ink for good results.
Once they’ve sat for a minute or 2 use the side of your tool and/or a paper towel to wipe off remaining shaving cream. I tried to use a light touch to minimise smearing of the ink, but you can see the “pull” lines where I wasn’t successful. I’m just calling them part of the design, LOL.
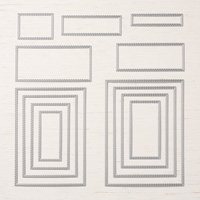
The Stitched Rectangles Dies (or any set of nesting dies) are great for making shaker cards. I used the largest die for the outside of the frame, then went 3 sizes smaller for the inside of the frame. I like to get them well-aligned and then use washi or masking tape to hold them together, especially if I’m making more than one (or prepping for a class).
Here’s the supplies I used for these pieces:


